A-Cute Design
|
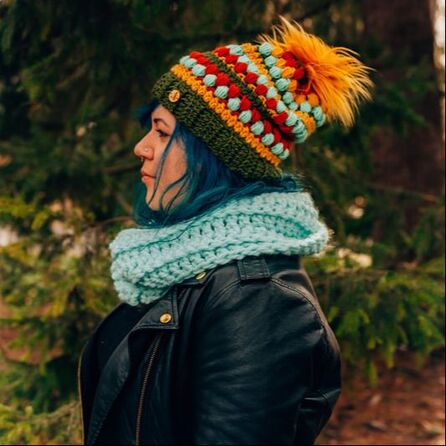
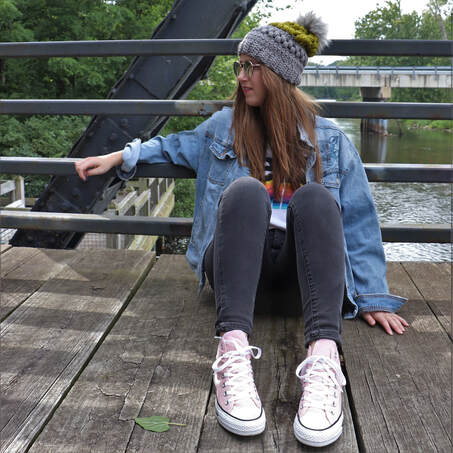
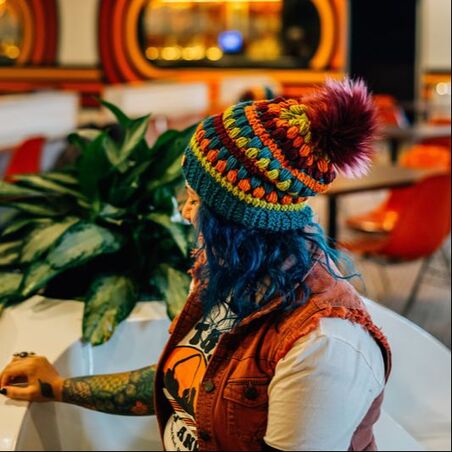
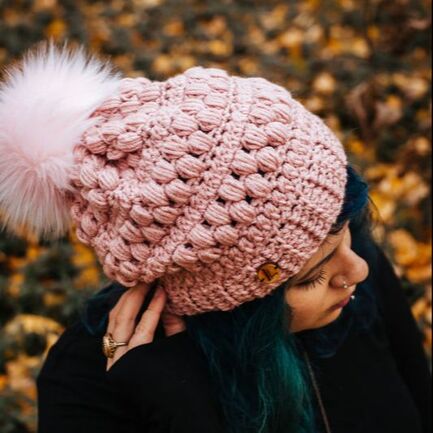
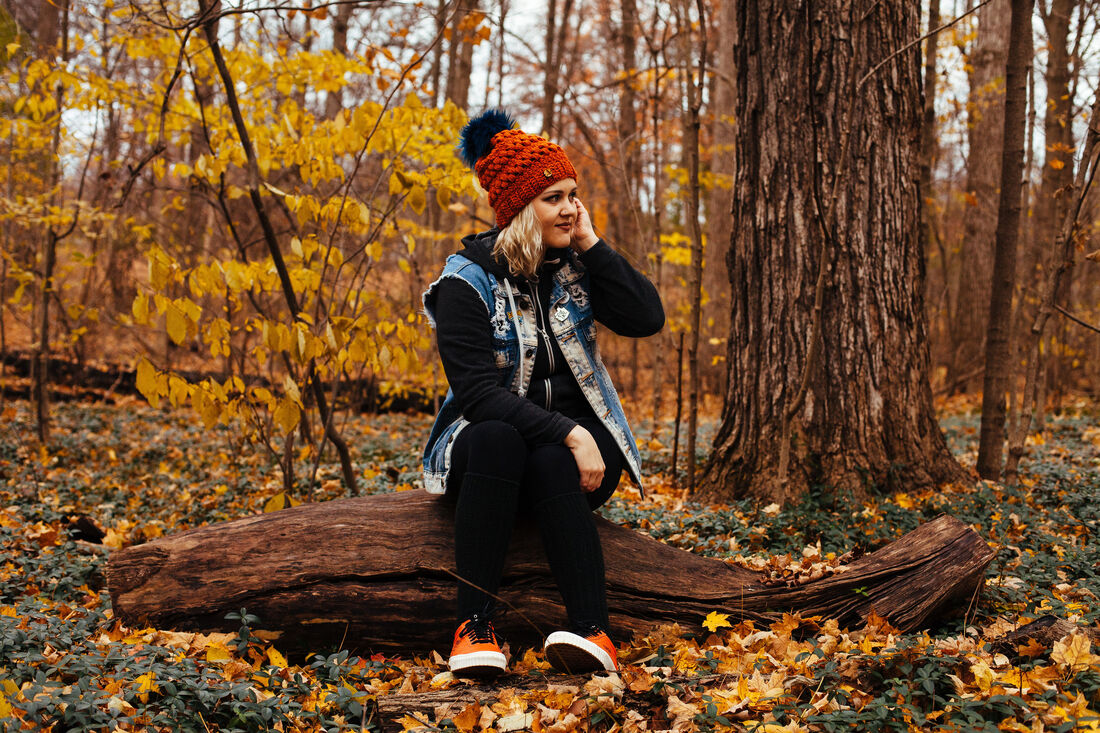
I’m so grateful for your interest in this crochet pattern! I developed it in the fall of 2017 to sell at my craft markets, without really realizing designing a beanie to fit mine and my customers needs was a skill. I wanted to include my beloved puff stitch in combination with structure to create the perfect base for a pom. Initially this design was made with color blocking, the following years I focused on solids, (as the pattern is written) and now interestingly enough I am creating different color combinations that are evolving by the season. Which one is your favorite? Photo: Corrine Turner Photography Photo: Corrine Turner Photography Photo: Corrine Turner Photography Photo Edit: Corrine Turner Photography This beanie is the basis of most of my work that I sell at indie craft fairs. I truly hope you love it as much as I do and I can’t wait to see the variations you come up with. Be sure to use #sheilabeanie and tag me on instagram (@A_Cute_Design) so I can see your creations and please let me know if you have any questions after purchasing the pattern!! Happy making!
2 Comments
This blog post includes affiliate links, if you purchase through these links I may receive a small commission.
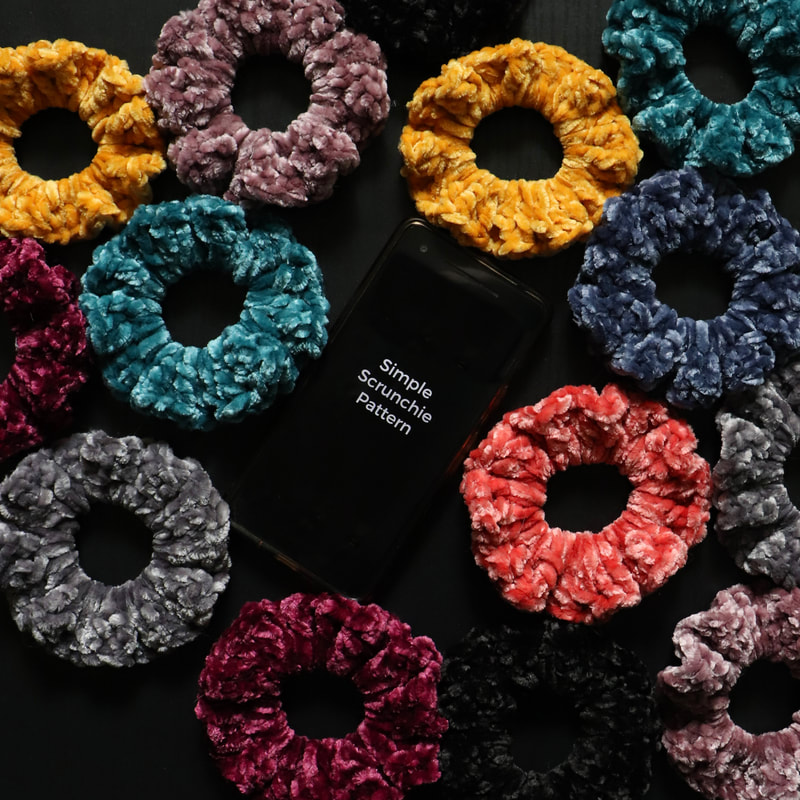
I’m aware that I'm not re-inventing the wheel here, but for those of you that need a quick pattern and a few tricks, this tutorial is perfect. Written in layman's terms(With abbreviations in parentheses) with photographs this will get you making you scrunchies all year long. I also suggest if you are a real beginner to try looking up terms on google or youtube(that’s how I perfected my skills).
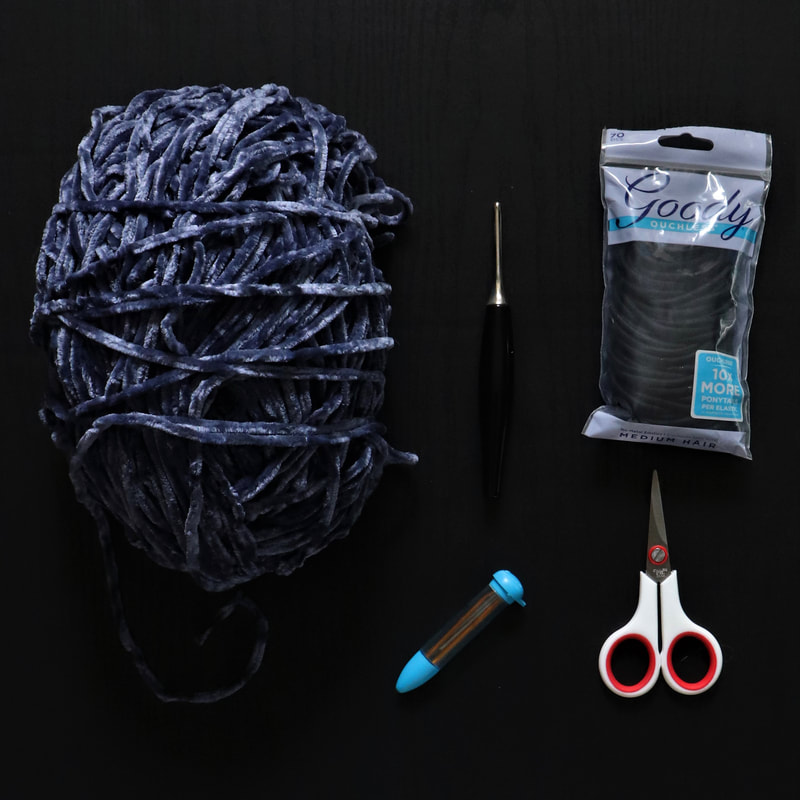
1. Materials
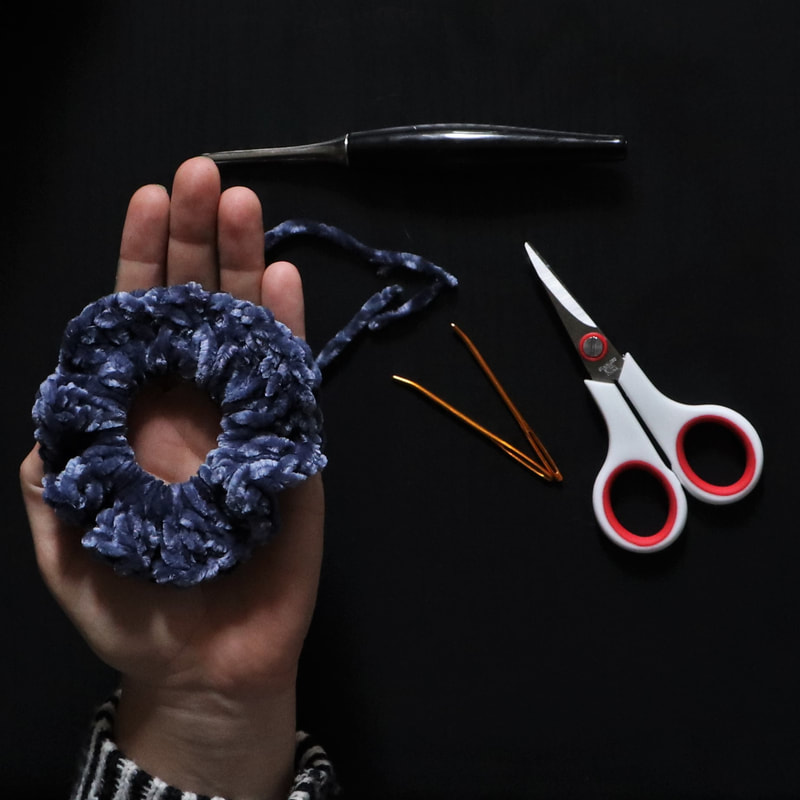
You will need: -Velvet yarn (I used Bernat Velvet in “Indigo”
-Hair ties
-Darning needle
-Scissors
-Crochet Hook (i used my furls odyssey, H)
2. Create a slip knot
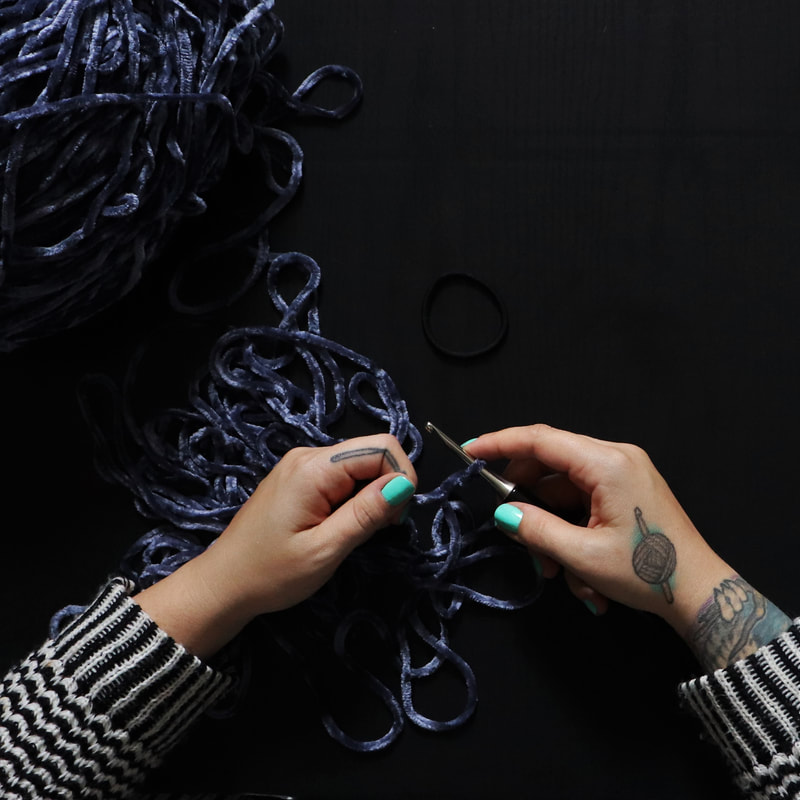
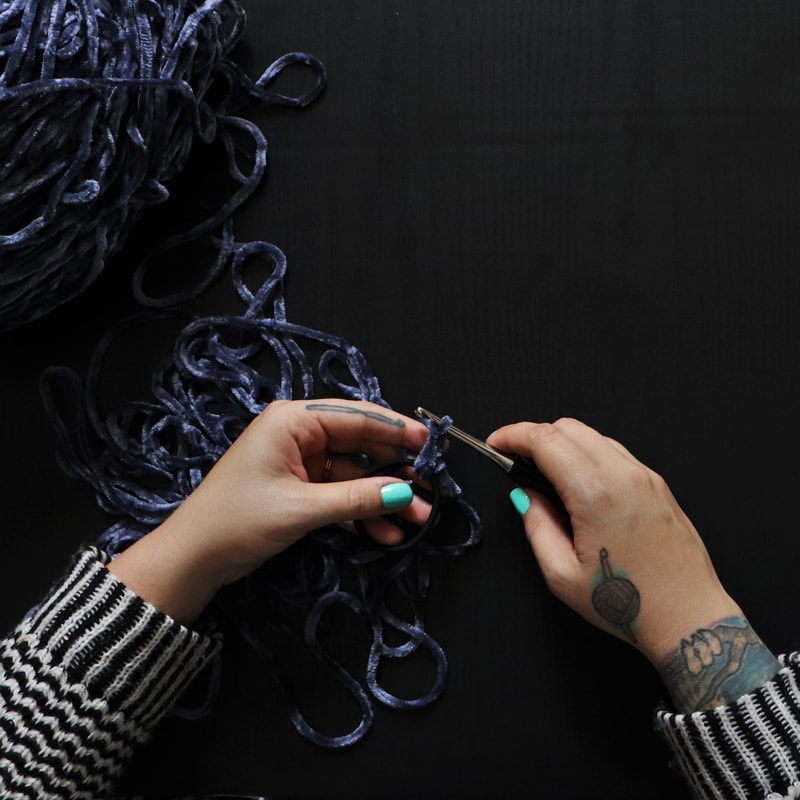
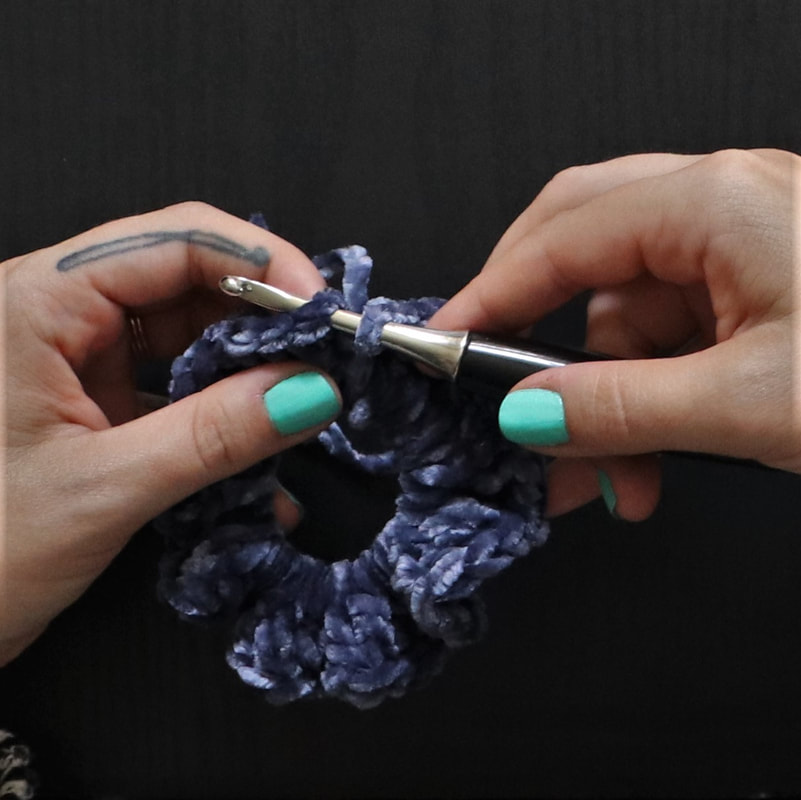
3. Single crochet (sc) onto hair tie and chain 2
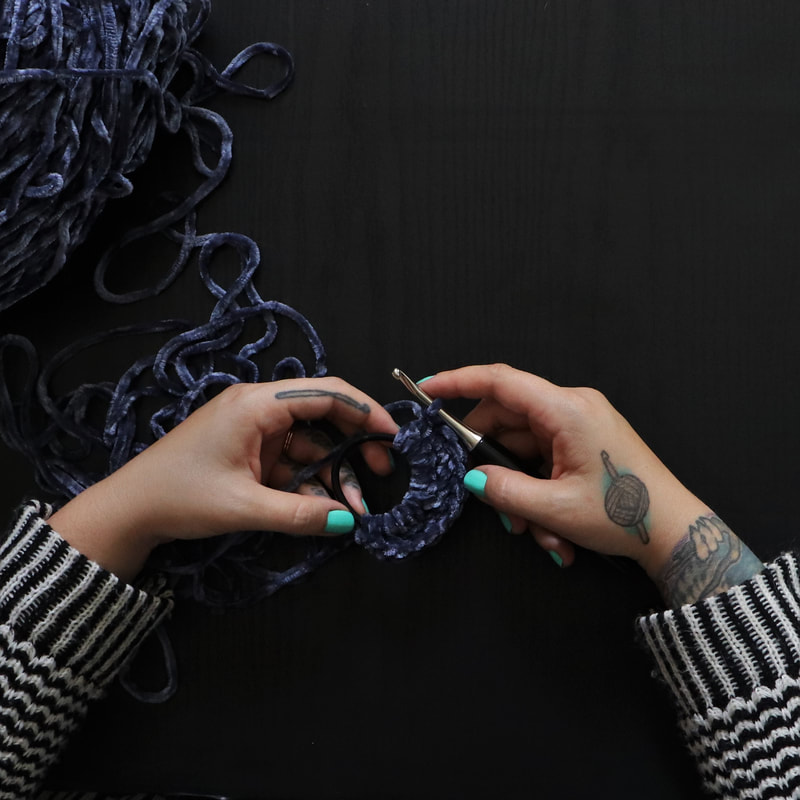
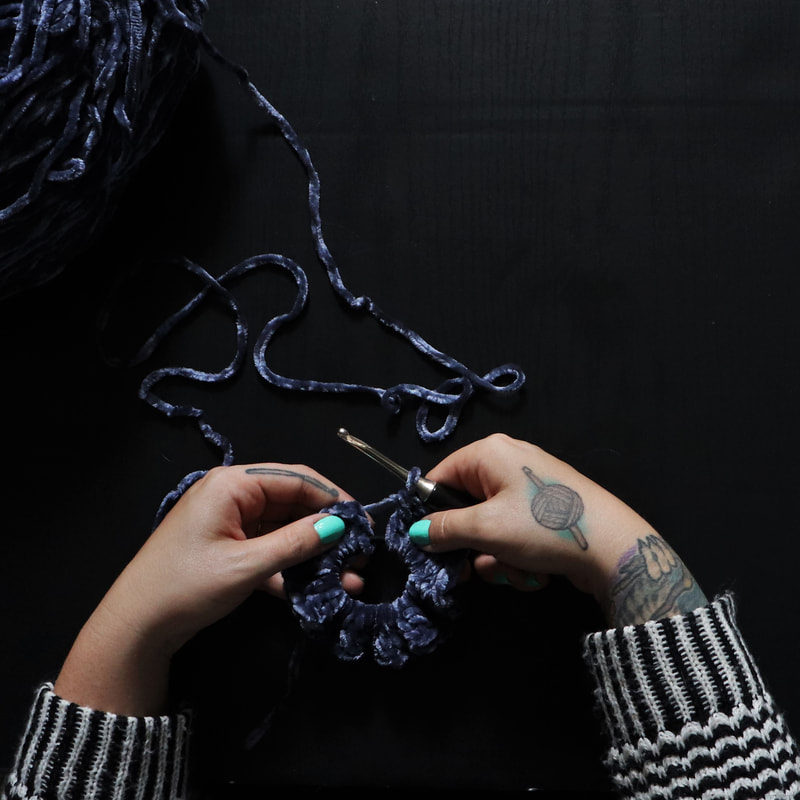
4. Triple Crochet (TC) around hair tie until it is full ( If you need a number, keep track of your first and go from there!)
If you’d like to count that’s certainly up to you, I’ve just learned counting isn’t necessary. Each scrunchie is unique (like in nature lol).
Tip- when you've crochet around, continue to pull stitches along hair tie to create more space and to make scrunchie feel more full..
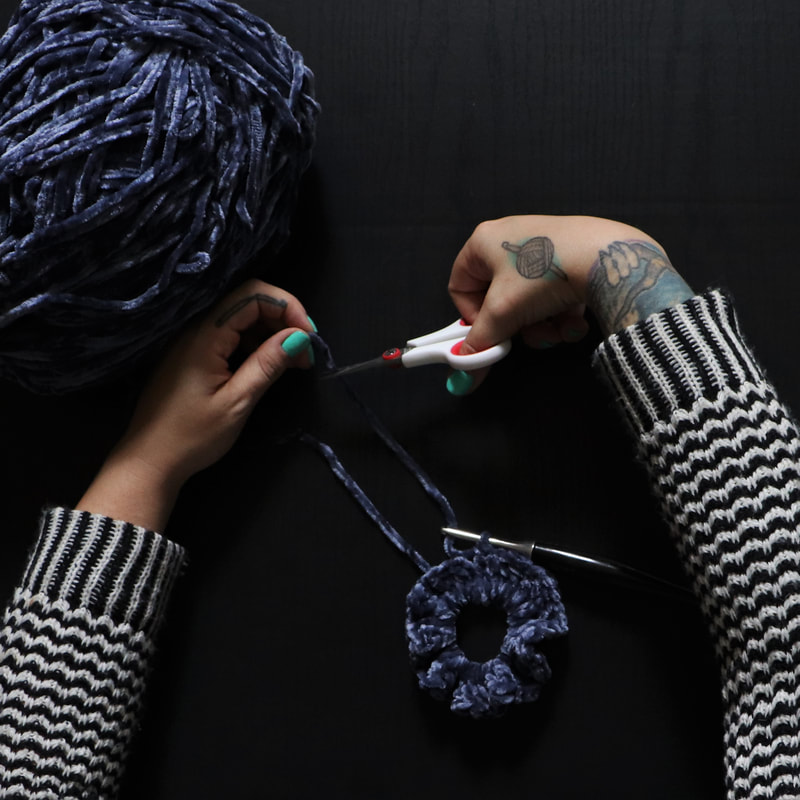
5. When scrunchie is at its desired fullness, cut yarn and slip stitch (slst) to your chain two space.
Pull through and secure with a single knot (even a double knot if you wish).
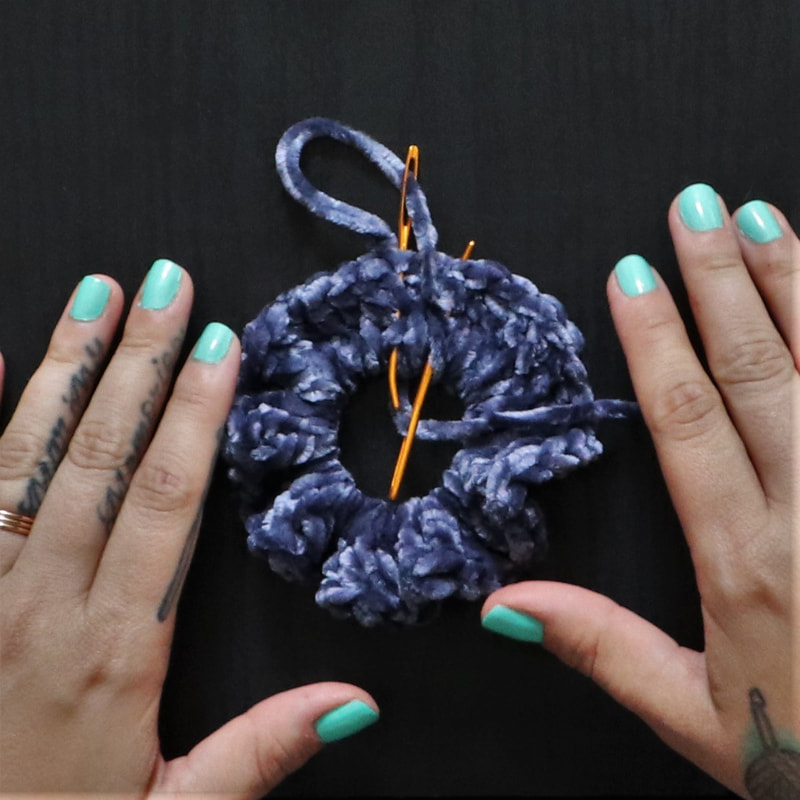
6.Weave in ends
(Here’s where I’d like to offer advice for those of you who have made them before.). Take your darning needle(photo shows two for reference) and weave in ends along the length of the stitches. These are a big seller for me at shows and the first thing people do is pull on them. So when you ends are woven in side to side(as opposed to up and down) they could become visible Weave in end ⅔ times Trim your tails
Now make sure to tag me on instagram at @A_Cute_Design so I can see your beautiful scrunchies in action friends!
Thanks for following along, please let me know if you have any questions in the comments and be on the lookout for more patterns from A-Cute Design! |
Check Out Our Hook Nook Blog Feature Here!Hey Cuties!
|
Proudly powered by Weebly
