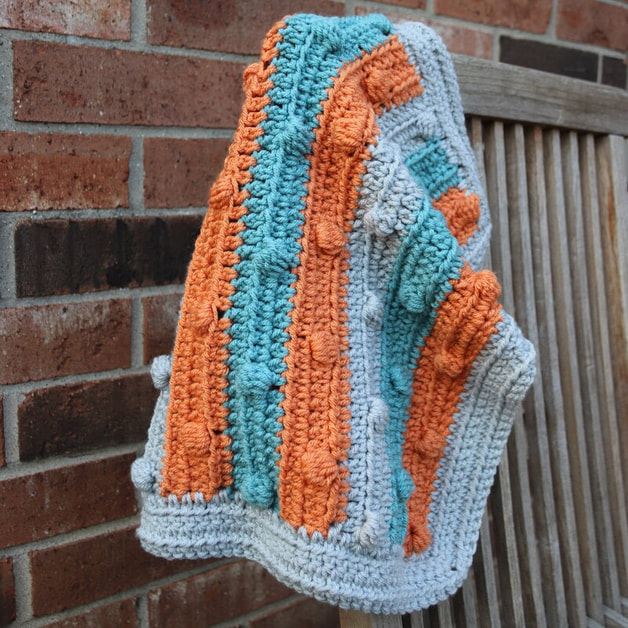
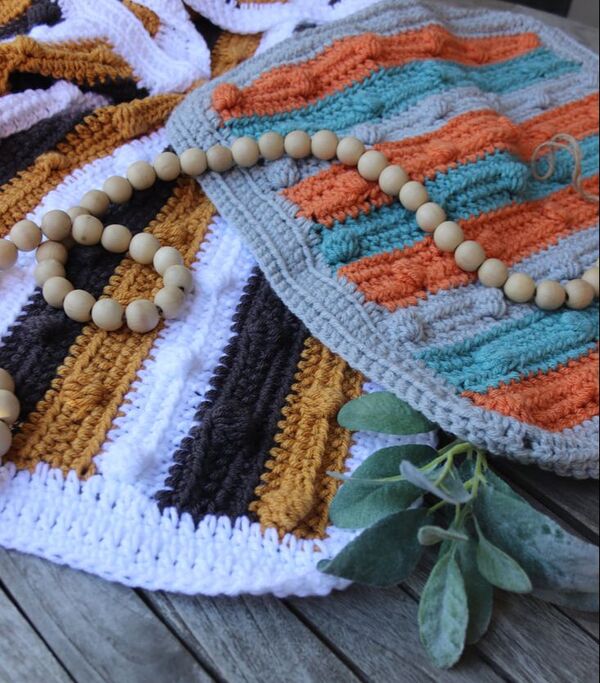
 Inspired by my own experience with pregnancy loss, I wanted to write up a free pattern for any crocheter that would like to donate to nationalshare.org or gift this beautiful blanket. Our previous blog post gives you our personal experience more information about the cause so if you haven’t read it yet, take a look! The focus of the free pattern is to keep it within the 18” square to fit in the keepsake boxes that are given to mothers at the hospital when they experience the loss of a pregnancy or infant. Any blankets you make can be donated to your local share chapter via the link below. But if you’d like to donate to the Metro Detroit Chapter I can always check in with them for need. These losses are more common than the general public realizes and any amount of comfort we can bring these families is time well spent. If you would like to purchase the no add PDF it does include a modification to the blanket for a regular baby blanket size measuring 31” x 41” (think two patterns in one!) and 15% of the pattern proceeds go to funding materials to make more blankets and the cause.(but honestly I will probably spend more on yarn to donate but every little bit helps!). *Scroll down to the bottom of the page for the paid PDF. 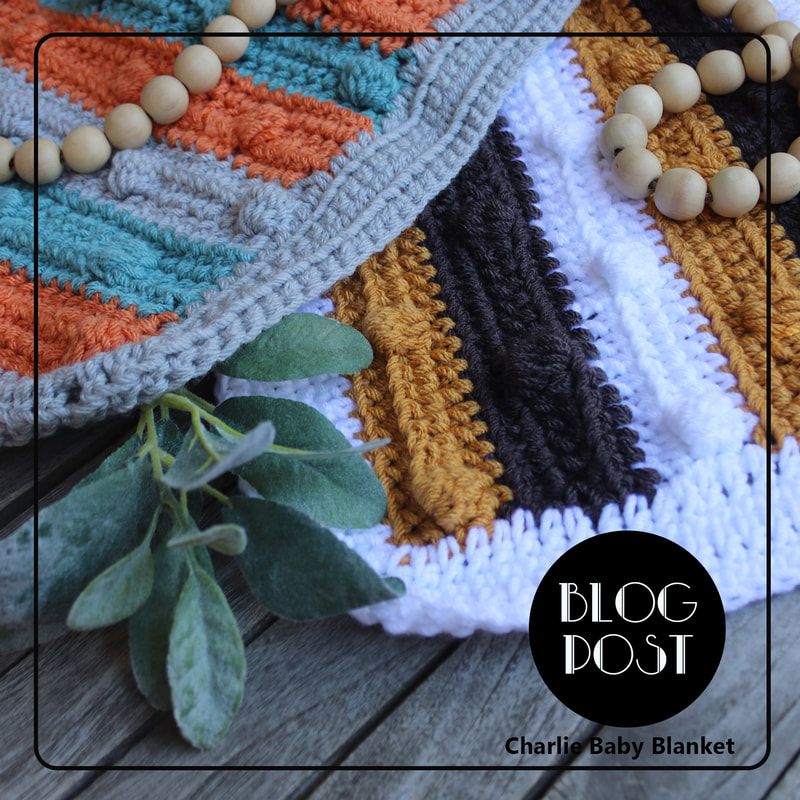 Pattern When I think of baby blankets I think bobbles, and I went through multiple configurations before developing my final design. I wanted to take this bobble idea, combined with a baby appropriate but colorful scheme, to create this textural and visually stimulating blanket pattern.
 Pattern Notes
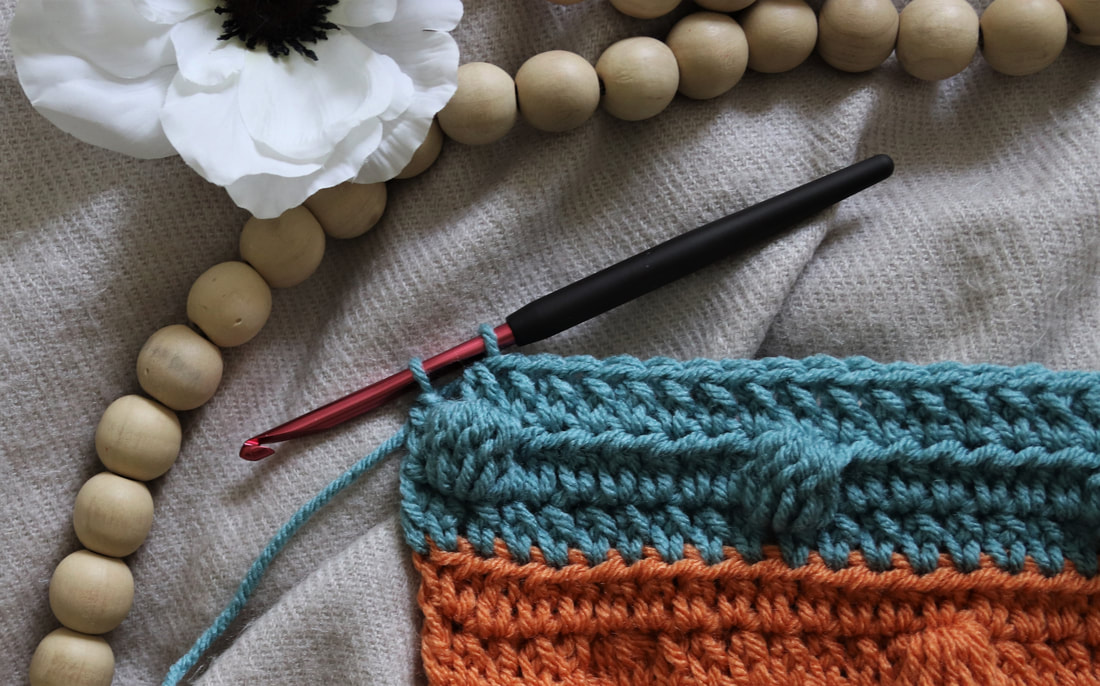
Row 1: When working the starting row of the blanket, FDC 43. For all other repeats, CH 2, HDC in 2nd ST across, DC in last ST, CH 2, Turn (43). Row 2: BO, HDC 7, [BO, HDC 7] x4. BO, DC in last CH 2 SP. CH 2, Turn (43). Row 3: HDC in first ST, HDC across row, SK 2nd to last ST, DC in last ST, CH 2, Turn (43). (Row three is worked differently to make sure bobbles are in the correct palcement). Repeat B Row 1: HDC 43 in 2nd CH from hook, DC in last ST, CH 2 Turn (43). Row 2: HDC 4, BO, HDC 7 [BO, HDC 7] x3. BO, HDC 4, DC in last CH ST, CH 2, Turn (43). Row 3: Repeat Row three in Repeat A (43). PATTERN Rows 1-3: (Color 1): Repeat A Rows 4-6: (Color 2): Repeat B Rows 7-9: (Color 3): Repeat A Rows 10-12: (Color 1): Repeat B Rows 13-15: (Color 2): Repeat A Rows 16-18: (Color 1): Repeat B Rows 19-21: (Color 3): Repeat A Rows 22-24: (Color 2): Repeat B Rows 25-27: (Color 1): Repeat A Border Starting CH counts as a ST. Rotate blanket as you work. See previous color change instructions and use them when transitioning from the body of the blanket to the border. Wait to weave in ends until all rows are complete so you can tighten and bring ends under the first row of the border. To keep you r stitch count uniform through out the blanket, work 5 STS of border per 3 rows of the body of the blanket (one color repeat). In Fig 2 you can see the three of the 5 DC are worked in the border thus far. You would then DC 2 more times in the orange color, then 5 in the blue and so on. 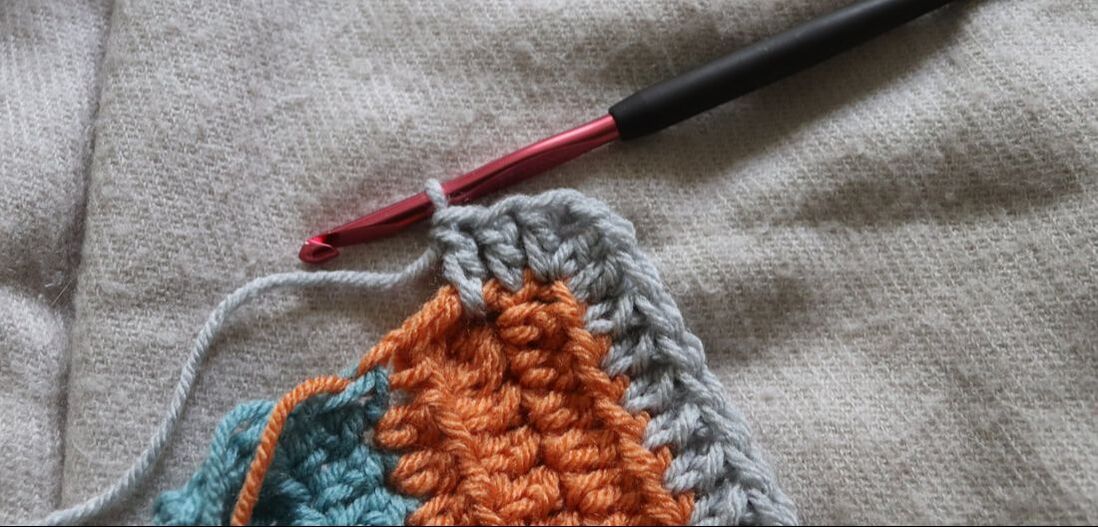 4 Rows in Color 3: (work DC CH 1 DC and/or SC CH 1 SC into each CH 1 corner space from previous row). Row 1: CH 2, HDC down side,(see corner repeat above) SL ST to CH 2 (172 DC). Row 2: CH 1, SC down side,(see corner repeat above) SL ST to CH 2 (180 DC). Row 3: CH 2, HDC down side,(see corner repeat above) SL ST to CH 2 (188 DC). Row 4: CH 1, SC down side,(see corner repeat above) SL ST to CH 2 (196 DC). FO and weave in ends 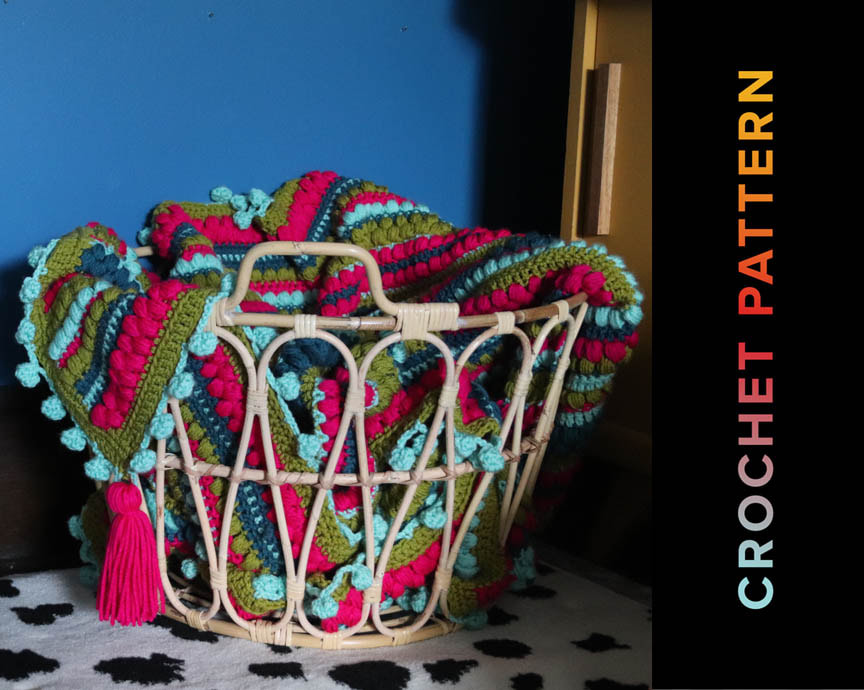 We would love to see your finished blanket! You can use #CharileBabyBlanket on social media and stay tuned for even more color combinations on Instagram at @A_Cute_Design as we keep making for the cause. Happy making friends! Note: Third parties may be placing and reading cookies on this browser or using beacons to collect information as a result of ad serving on this site.
3 Comments
This blog post includes affiliate links, if you purchase through these links I may receive a small commission.
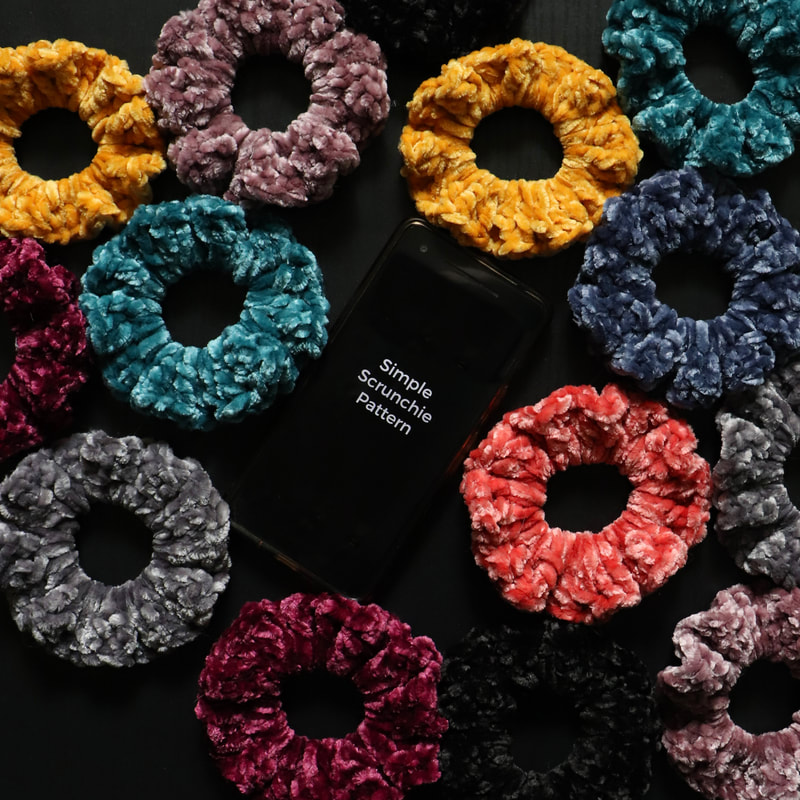
I’m aware that I'm not re-inventing the wheel here, but for those of you that need a quick pattern and a few tricks, this tutorial is perfect. Written in layman's terms(With abbreviations in parentheses) with photographs this will get you making you scrunchies all year long. I also suggest if you are a real beginner to try looking up terms on google or youtube(that’s how I perfected my skills).
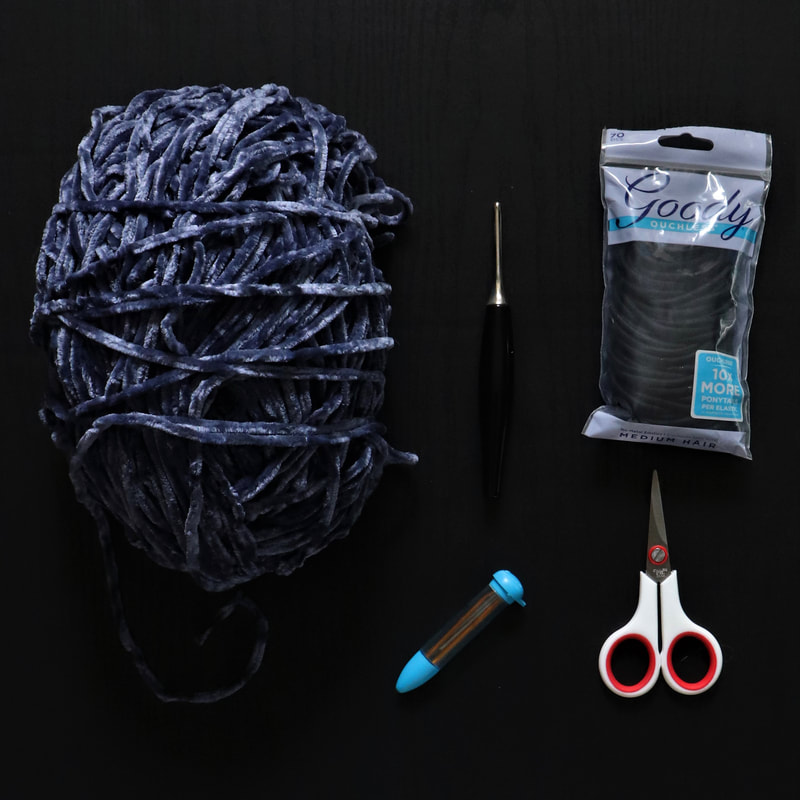
1. Materials
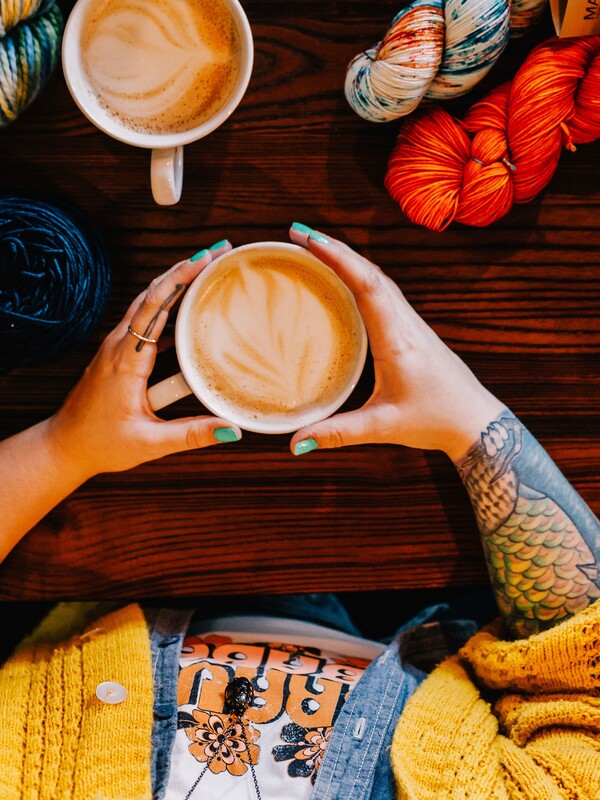
You will need: -Velvet yarn (I used Bernat Velvet in “Indigo”
-Hair ties
-Darning needle
-Scissors
-Crochet Hook (i used my furls odyssey, H)
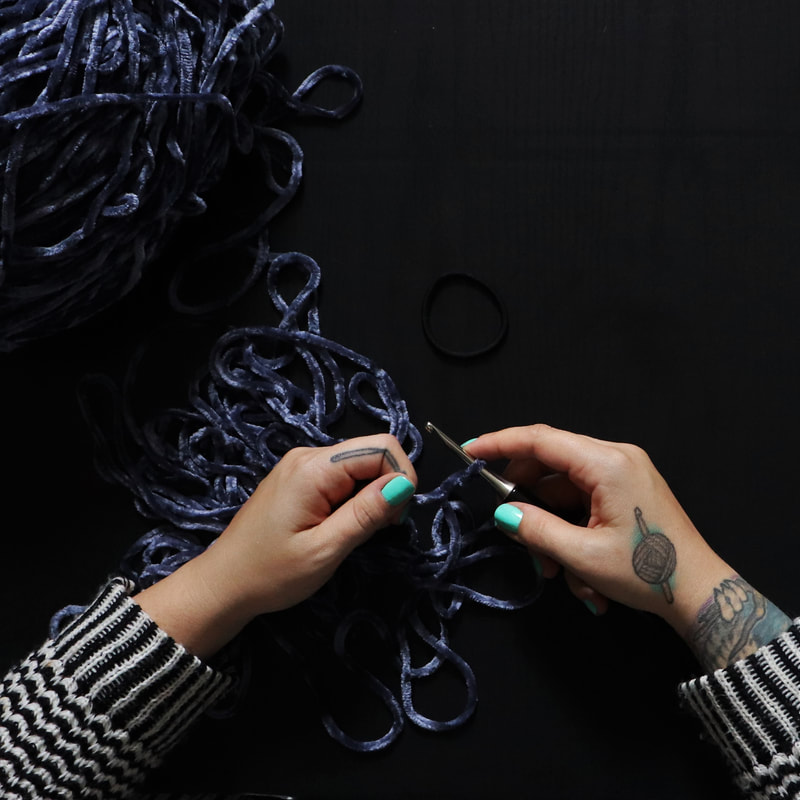
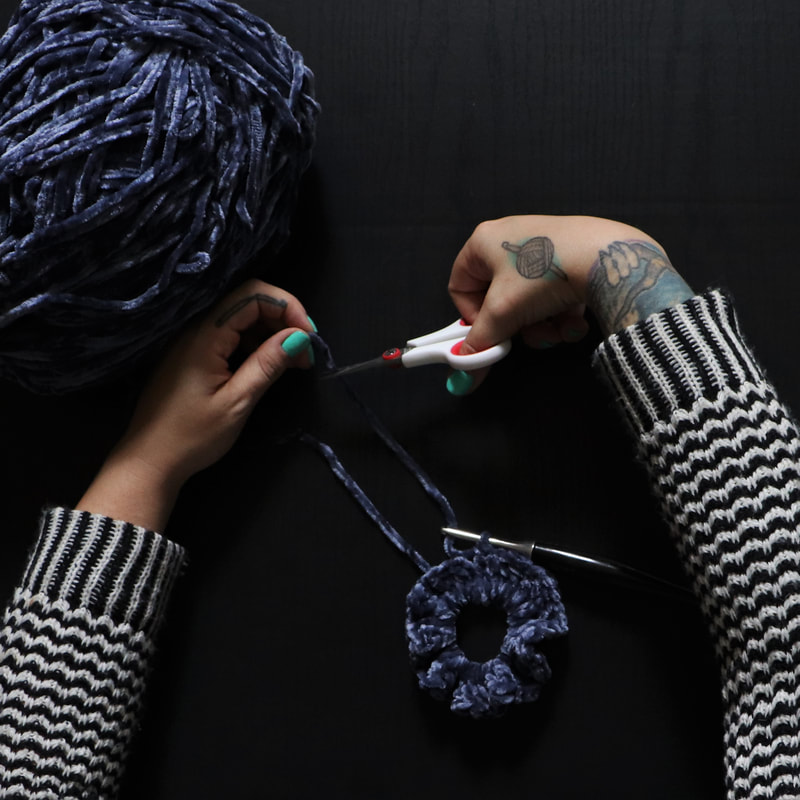
2. Create a slip knot
3. Single crochet (sc) onto hair tie and chain 2

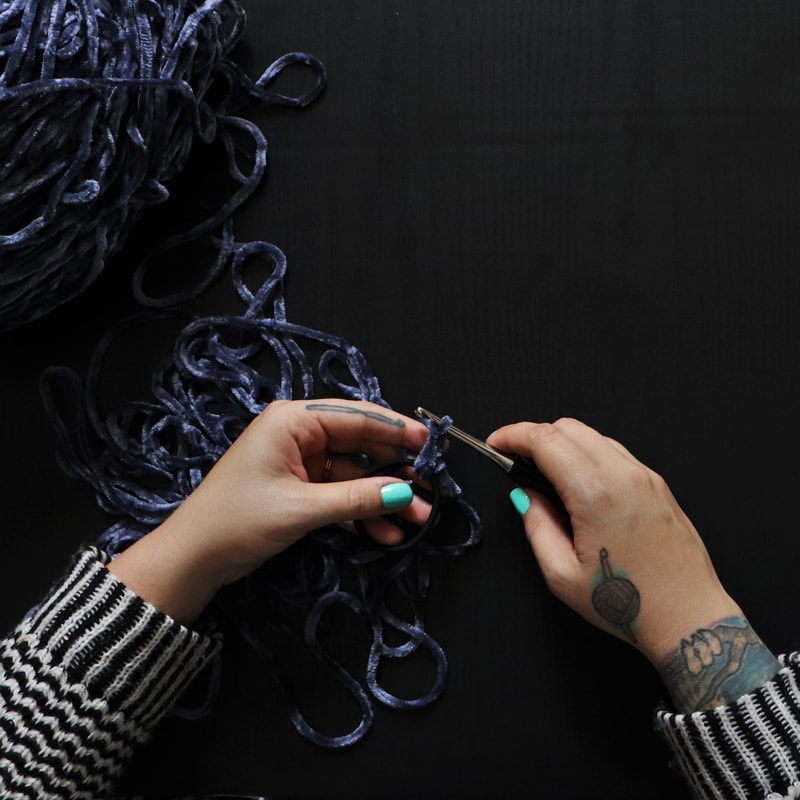
4. Triple Crochet (TC) around hair tie until it is full ( If you need a number, keep track of your first and go from there!)
If you’d like to count that’s certainly up to you, I’ve just learned counting isn’t necessary. Each scrunchie is unique (like in nature lol). 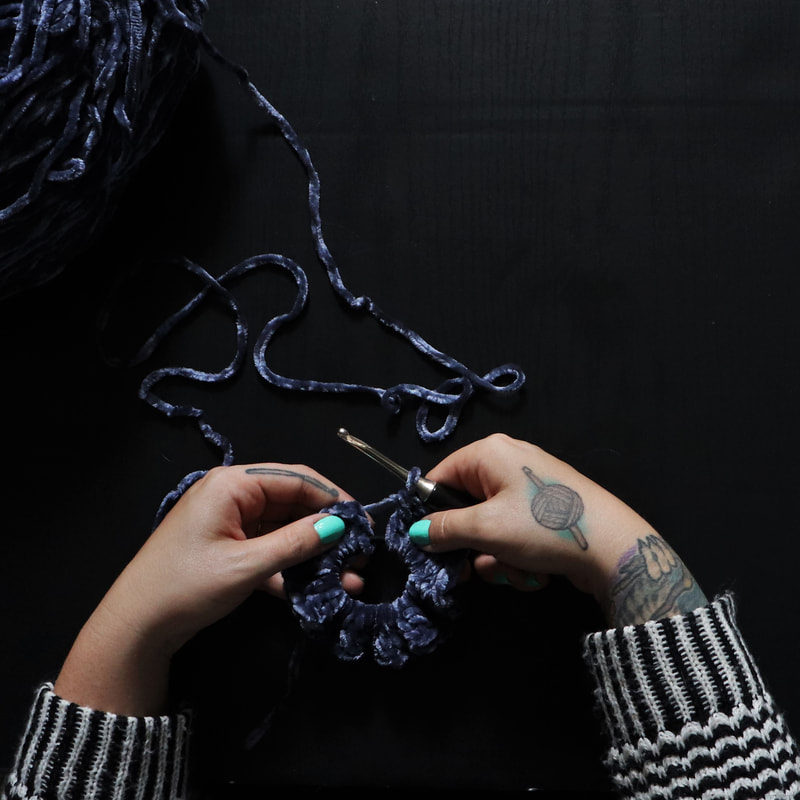
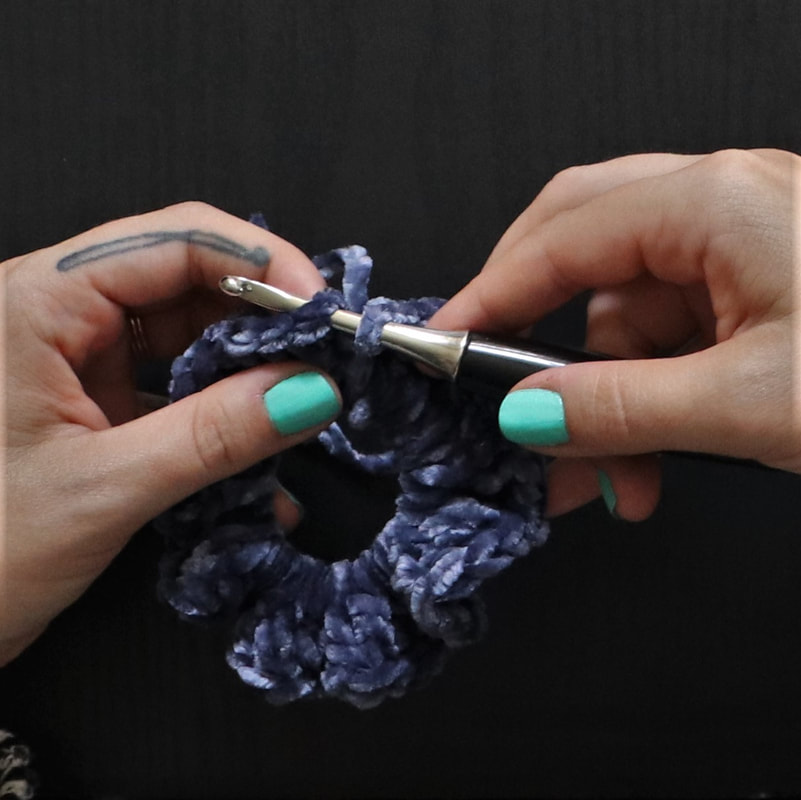
Tip- when you've crochet around, continue to pull stitches along hair tie to create more space and to make scrunchie feel more full..
5. When scrunchie is at its desired fullness, cut yarn and slip stitch (slst) to your chain two space.
Pull through and secure with a single knot (even a double knot if you wish). 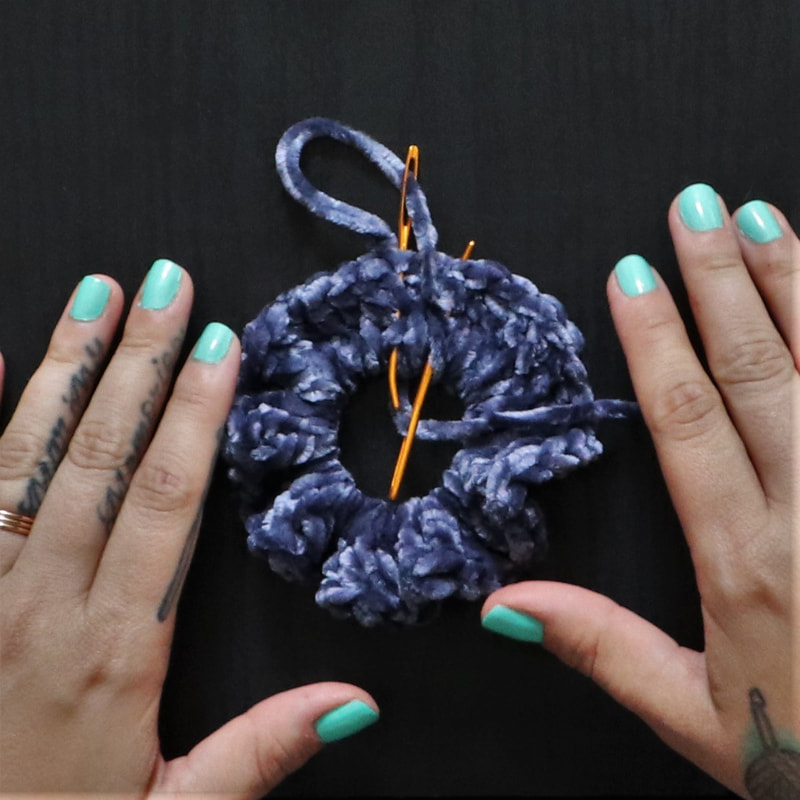
6.Weave in ends
(Here’s where I’d like to offer advice for those of you who have made them before.). Take your darning needle(photo shows two for reference) and weave in ends along the length of the stitches. These are a big seller for me at shows and the first thing people do is pull on them. So when you ends are woven in side to side(as opposed to up and down) they could become visible Weave in end ⅔ times Trim your tails 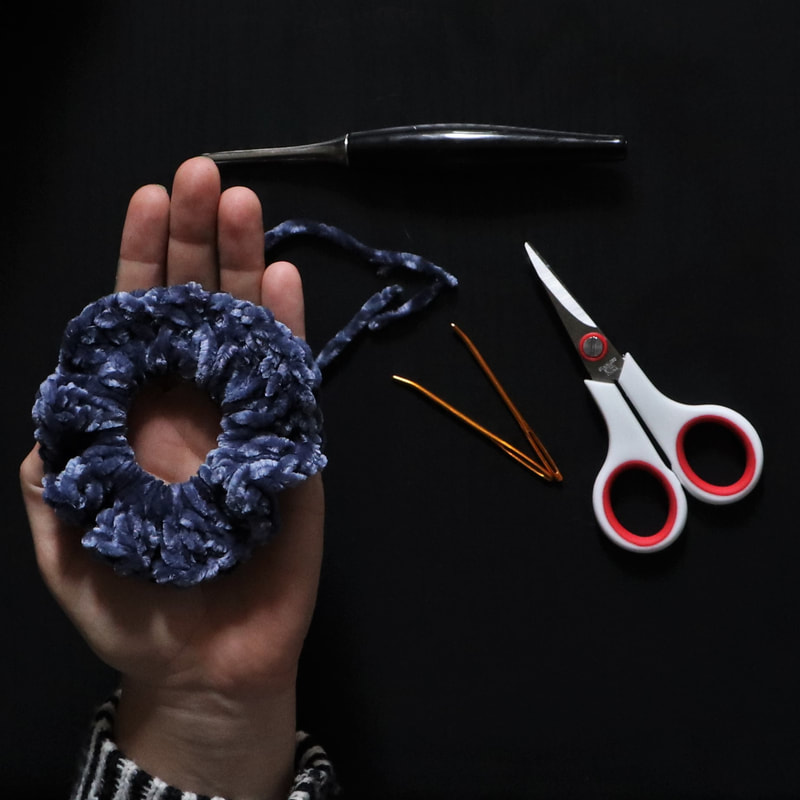
Now make sure to tag me on instagram at @A_Cute_Design so I can see your beautiful scrunchies in action friends!
Thanks for following along, please let me know if you have any questions in the comments and be on the lookout for more patterns from A-Cute Design! |